Skip to main content
- Information Technology Services
- Documentation
- Windows: Map a Network Location
Windows: Map a Network Location
- Click the File Explorer Icon. Click on Computer and then Add a Network Location.

- Click Next at the Welcome screen. Click Next to Choose a custom network location.
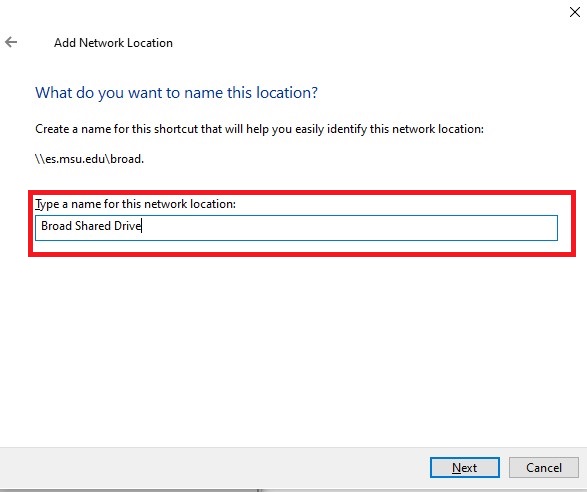
- Specify the network address with \\es.msu.edu\broad and click Next.

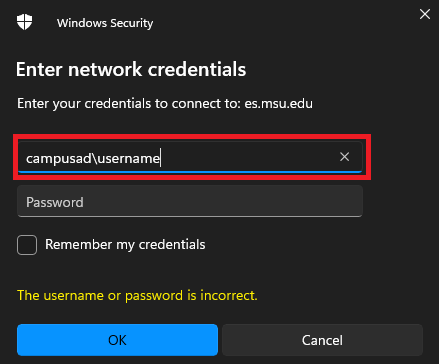
- If you are prompted for credentials, specify the username as campusad\netid and use your MSU password.
- Now specify the name of the location and click Next. This is for your own records.
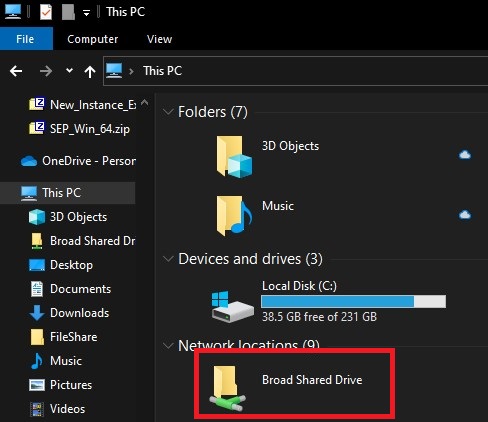
- Click Finish. You can now find the mapped location in the same area you will see your other drives.